Featured Brands
Recommended Products
HOLIDAY20
Get free shipping, on most items, with your $50 purchase today! Same day shipping on most orders if placed by 3pm PST.
PLEASE NOTE:
This offer is only available to physical shipping addresses in the 48 continental United States (no PO Boxes), and some exclusions apply.
Oversize Charges
Some large and/or heavy items are subject to additional oversize charges that are separate from standard shipping costs.
Bike Build Process
All bikes are built, tested, tuned, and ready to ride upon shipment. The bike build process typically takes 2-3 days to complete depending on the bike model and the complexity of the build.
Stock Status
Orders for in-stock items placed by 3PM PST usually ship on the same day. Orders that include special-order or backordered items may be subject to shipping delays depending on product availability. Refer to estimated delivery times in cart when selecting shipping options.

Our Gear Advisors are Ready to Help.
FREE SHIPPING over $50*
Jenson USA carries one of the most extensive selections of curated bike gear online. We’ve developed learning guides to aid you in making informed decisions and we have backed this up with our expert Gear Advisors who are available by phone, chat, or email 7 days a week.
For many riders, the change of seasons can lead to rides getting cut short due to lack of sunlight. Luckily, bike lighting solutions have improved immensely over the last few years and riding at night is easier, safer, more fun, and cheaper than ever before. We’ve put together this guide to teach you the basics of bike lighting and give you the knowledge to find the perfect light setup for your riding needs.
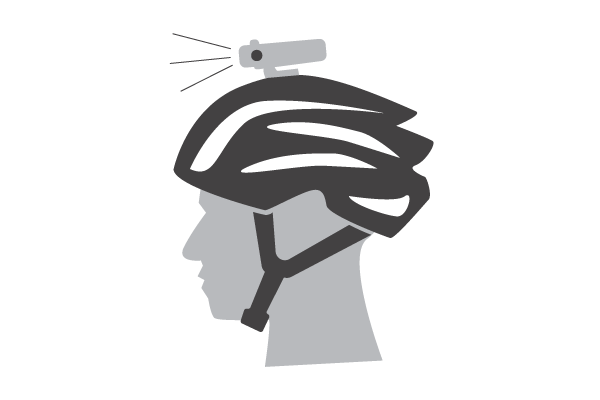
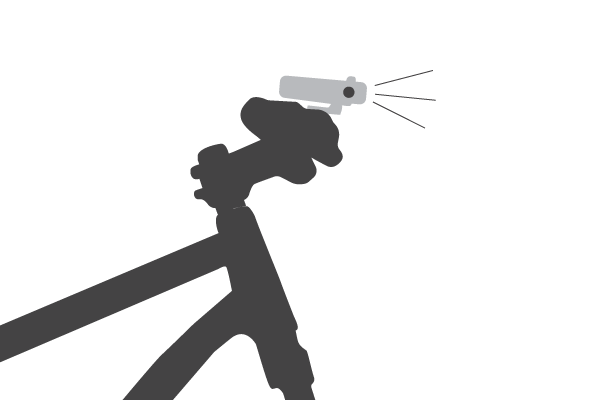
SHOP LIGHTINGThe first decision to make when buying lights is to determine how many lights you want/need and where you plan to mount them. The two most common places to mount your bike lighting for night riding is on your helmet and on your handlebars. Each mount position has its benefits and drawbacks. If you can afford to purchase two lights we highly recommend having a light for both your helmet and handlebars. This combination gives you the best of both mount options, allows you to ride faster or more aggressively, and makes you safer. If you only have budget for one light, we recommend starting with a helmet mount as it is the most versatile setup for seeing what’s ahead while still being able to look around you. Most lights will come with either a handlebar or helmet mount, but some come with both. Often, you can buy additional mounts for your bars or helmet as well as some other unique mounts. We’ve broken down the pros and cons of both mount options below.
SHOP LIGHT MOUNTS & ACCESSORIESSome Things to Consider:
Some Things to Consider:
Bike lights come in 2 primary styles; internal or external battery lights. Internal lights are sometimes referred to as all-in-one lights because the LED(s), battery, and all components are encased in a single unit. These lights are very convenient and can be fairly bright, but sacrifice run-time or extreme brightness for better size and weight. External battery lights have a separate LED head unit connected to the battery pack by a cable. These lights can be brighter with longer run-times, plus they have better cooling. They tend to be heavier/bigger and require managing multiple pieces.
If your rides consist of commutes or hot laps at your local trail that last around one hour or so, a light with a 1.5hr run-time on high should do just fine. If you’re the type of rider who’s putting down big rides or multi-day adventure rides, you likely will need to opt for lights with longer run times or consider spare lights or batteries. When you are climbing or riding slowly, you can run your light on a low or medium setting and extend your lights run-time. When the time comes to hit a descent with speed, chase a sprint, or smash a tech section, you can quickly bump your light to full brightness. Some lights even come with a bar-mounted controller. Heat can reduce the run-time of a light significantly. Manufacturers add multiple heat management systems to dissipate heat from the light. It is also a good idea to make sure you’re moving when running your light(s) on its bright setting to allow the cooling fins to do their job and dim or turn off your light(s) when stopped. We’ve put together a quick cheat sheet below to help you choose what’s right for you.
SHOP FRONT LIGHTS SHOP REAR LIGHTSSome Things to Consider:
Some Things to Consider:

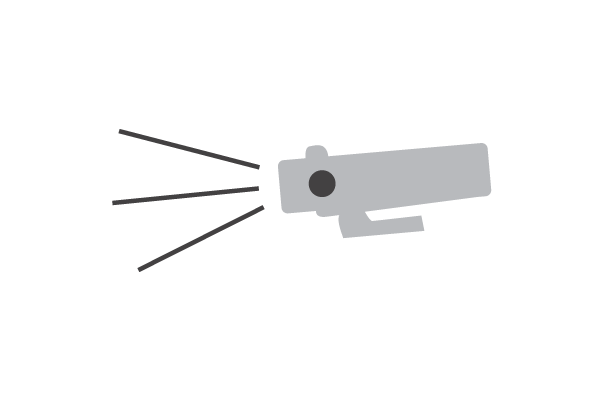
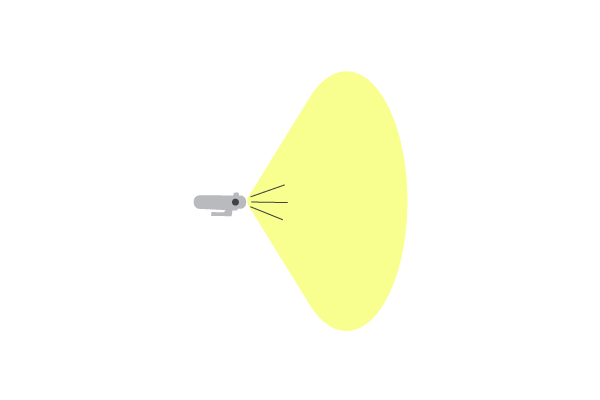
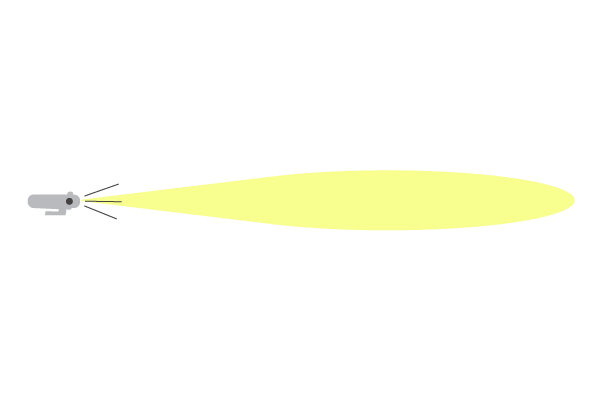
Beam pattern is also are crucially important. Beam patterns can range from flood, which spreads a smooth diffused light over a large area, to spot, which has a narrow beam pattern that penetrates farther. A good option is to combine a wide/flood light pattern mounted on your handlebars with a spot pattern light mounted to your helmet. This allows you to illuminate what’s around you while still allowing you to look far down the trail/road and spot the exits of corners. With any light pattern you will want to be sure that there are not “hot” or “cold” spots that cause an uneven spread of the light or dark spots.
Some Things to Consider:

Some Things to Consider:
Some Things to Consider:
Lumens is a brightness rating. The higher the lumen number, the brighter your light output will be. It is important to have enough lumens to allow you to see far enough ahead to ride at your desired speed while still having time to react to any obstacles, trail features, or changes that are upcoming. The faster you ride, the more lumens you will need.
SHOP 0-1000LM SHOP 1000-3000+LMHere are our recomendations for road and mtb riding:
Minimum Lumens: 500-600lm
Preferred setup:
Minimum Lumens: 700-1000lm
Preferred setup:

We want to make sure you can go from shopping to riding as soon as possible. We’ve provided fit charts on all our mountain bike clothing products and have additional customer feedback in our reviews sections on product pages to help you choose the correct size. If the fit isn’t quite right, we’ve got you covered with free returns on all unused apparel and protective gear
SHOP THE GIFT GUIDE
SHOP BRAND SALES
SHOP NOW
SHOP NOW
SHOP NOW
SHOP NOW


